
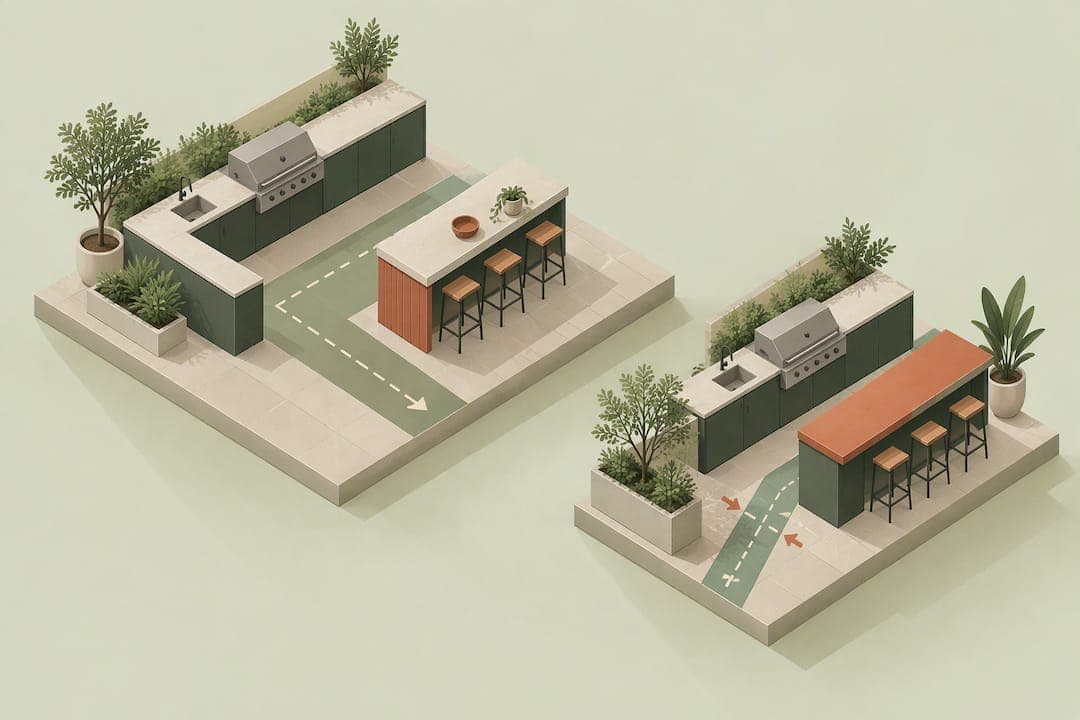
Plan an outdoor kitchen by prioritizing four work zones: cooking, prep, plating and serving, and entertainment, then choose a shape that fits your site and the way people move through it. Measure the space, mock up the footprint, confirm appliance clearances, and get utility quotes before you commit to materials. A 3D planning tool can turn that process into a tested layout with a real cost estimate, instead of a guess on graph paper.
TL;DR:
- Ensuring adequate landing space near the grill and following manufacturer clearance guidelines minimizes safety risks and workflow disruptions.
- Mapping utility runs for gas, water, and electric before construction prevents costly retrofits and delays.
- Using a 3D planning tool can help test layouts for proper clearances, sightlines, and to generate accurate, contractor-ready cost estimates.
- Varied layout shapes suit different site sizes and usage habits, with U-shapes ideal for frequent entertaining and galley layouts for multiple cooks.
- Weather-resistant storage and proper seasonal planning extend the outdoor kitchen's lifespan and maintain safety and functionality year-round.
Table of Contents
- Work zones and layout basics: the four-zone planning approach
- Plan the site: measuring, traffic flow, and utilities
- Appliances, landing space, and safety and clearances
- Layout shapes: linear, L-shaped, galley, U-shaped, and when to pick each
- Materials, coverage, seating, and lighting choices that affect layout
- How a 3D planning tool helps test and cost an outdoor kitchen before building
- Common mistakes and a pre-build checklist
- Storage solutions and organization tips for outdoor kitchens
- Seasonal considerations and weatherproofing strategies
- Integration with outdoor dining and social areas
- Designer perspective: prioritize flexible workspace and guest comfort
- Try a 3D planning tool to validate your layout and get live cost estimates
- FAQ
- Sources
Work zones and layout basics: the four-zone planning approach
An outdoor kitchen works when it is planned by task, not by appliance list. Design guidance from BBQGuys recommends four zones: cooking, prep, plating and serving, and entertainment, because an outdoor kitchen needs a dedicated gathering area in addition to the work triangle, or the island becomes both a bottleneck and a social wall.
Each zone holds specific components:
- Cooking zone: grill, side burner, pizza oven or smoker, and heat-safe counter nearby.
- Prep zone: sink, cutting space, and storage for utensils and ingredients.
- Plating and serving zone: landing counter near the cooking zone so hot food has somewhere to go.
- Entertainment zone: seating, a secondary counter or bar, and space that stays clear of the cook's path.
Appliance-first planning skips this logic. A homeowner who places a grill, fridge, and sink based on looks alone often discovers there is nowhere to set down a tray, and guests end up standing exactly where the cook needs to pivot. Mapping zones first exposes that missing landing space before it becomes a daily annoyance.
Plan the site: measuring, traffic flow, and utilities
Before choosing a shape, build an accurate footprint. Lowe's planning guide recommends drawing the kitchen to scale and plotting every counter, cabinet, and appliance against the real dimensions of the space, not an estimate.
- Measure the full usable area, then mark doors, windows, and existing walklines on a to-scale sketch.
- Test traffic flow by walking the cook's path from grill to sink to serving counter, and note anywhere guests would cross it.
- Mock up the layout with cardboard, foam blocks, or a 3D model, and check that walkways stay wide enough for two people to pass.
- Locate the dining area and the nearest house access point, since This Old House notes that proximity to the house cuts utility trenching but raises smoke and clearance concerns.
- Decide between portable, prefab, or custom based on how close utilities already run and what the budget allows.
A kitchen sited far from existing gas, water, or electrical lines costs more to connect, so this step should happen before any appliance gets ordered.
Appliances, landing space, and safety and clearances
Once the footprint is set, match appliances to the zones that need them. Common additions include a built-in grill, weather-resistant storage, a refrigerator, a sink, a side burner, and a pizza oven or smoker, chosen based on how the household actually cooks rather than what looks complete.
- Grill: needs landing counter on at least one side for tongs, plates, and resting food.
- Sink: belongs in the prep zone, close to where vegetables and tools get washed.
- Refrigerator: should sit away from direct grill heat to avoid strain on the compressor.
- Side burner or pizza oven: works best adjacent to the main grill so one cook can manage both.
Clearance requirements vary by appliance, fuel type, and local code, so no single number applies universally. UpCodes' guidance on portable outdoor barbecues is explicit that clearance depends on the model, fuel, surrounding materials, enclosure, and local fire or building rules, which means a generic figure copied from a blog post is not a safe substitute for the appliance manual and a call to the local building authority. Plan access for fuel lines and electrical hookups early, since retrofitting them after counters are built adds cost and tears into finished work.
Layout shapes: linear, L-shaped, galley, U-shaped, and when to pick each
Once zones and appliances are mapped, the site dictates which shape fits. Each format trades space efficiency for flow and social capacity.
- Linear: a single run along one wall or fence line, best for narrow spaces or light cooking needs.
- L-shaped: wraps a corner, separating cooking from prep while keeping both within reach, a common choice for mid-size patios.
- Galley: two parallel runs with a walkway between them, useful when more than one person cooks at once, provided the aisle stays wide enough to pass.
- U-shaped: encloses the cook on three sides, creating a defined gathering edge for guests, good for larger yards that host regularly.
- Custom islands: combine elements of the above, sized to the site rather than a standard template.
Walkway width matters more than shape choice alone: aisles need enough room for one person to work and another to pass without squeezing past hot surfaces. Seating overhangs at a bar counter typically need enough knee clearance that stools do not block the walkway behind them. Multi-cook households tend toward galley layouts, while hosts who entertain often lean toward U-shaped designs that wrap guests into the space without crossing the work zone.
Materials, coverage, seating, and lighting choices that affect layout
Material and feature choices change the footprint as much as appliance selection does. Stone and concrete counters resist weather but add significant weight, which affects the foundation. Stainless cabinets shrug off moisture but show fingerprints and can heat up in direct sun. Hardwood accents look warm but need more upkeep than composite alternatives.
- Coverage: a pergola allows airflow and some shade but little rain protection, while a solid roof blocks weather but needs ventilation clearance above any grill or smoker.
- Seating: bar-height counters work for quick meals, while a separate dining table supports longer gatherings without crowding the cook.
- Lighting: plan for three layers, task lighting over the grill and prep counter, ambient lighting for the seating area, and safety lighting along walkways and steps.
Each of these choices shifts dimensions on the plan, so settle them before finalizing counter lengths.
How a 3D planning tool helps test and cost an outdoor kitchen before building
A 3D mockup lets you walk the cook's path and check sightlines before a single block gets laid, catching the clearance conflicts and crossed traffic patterns that a flat sketch tends to hide. Linking each object in the design to live pricing turns the layout into a running estimate, so adding a pizza oven or extending a counter shows its cost impact immediately instead of after materials are ordered.

Pro Tip: Build your layout in a 3D tool before buying anything, then export the plan and a shopping list so a contractor can quote against the same drawing you tested.
That export step matters as much as the design itself. A document that combines the geometry, the material list, and the cost estimate gives a contractor something concrete to quote, which tends to produce tighter bids than a verbal description of what you want.
Common mistakes and a pre-build checklist
The most frequent planning errors are missing landing space next to the grill, ignoring manufacturer clearances, poor circulation around the cook, and utility runs that were not mapped before construction started.
- Measure the site and draw it to scale.
- Mock up the layout and walk the cook's path.
- Confirm appliance manuals and local code before fixing placement.
- Map utility runs for gas, water, and electrical.
- Pull permits where required and plan drainage around the footprint.
This Old House's planning guide points out that the least visible budget risks are utility trenching, drainage, foundations, and permit fees, not the grill or cabinets, so these line items deserve a contingency in the budget from the start.
Storage solutions and organization tips for outdoor kitchens
Storage in an outdoor kitchen has to handle moisture, temperature swings, and whatever gets left outside after a cookout, so it needs different planning than an indoor pantry. Weather-resistant cabinetry, built from stainless steel or marine-grade polymer, keeps tools and dishware dry without warping the way untreated wood eventually does.
Group storage by zone instead of treating it as one catch-all cabinet. Keep grilling tools, skewers, and heat-resistant gloves in a cabinet near the cooking zone, so the cook never has to leave the station mid-task. Store cutting boards, knives, and prep bowls near the sink, since that is where they get used and cleaned. A dedicated cabinet or drawer near the serving counter can hold napkins, serving platters, and condiments, keeping that clutter off the main counter during a meal.
Vertical space often gets overlooked. A slim cabinet or open shelf above a counter, placed well clear of the grill's heat, adds storage without expanding the footprint. For smaller setups, a rolling cart that tucks against a side wall can double as extra counter space when needed and roll away when it is not.
A side cabinet attached to the grill island, like the Napoleon grill side cabinet, adds enclosed storage directly where the cooking happens, which keeps propane tanks or tools out of sight without adding a separate structure. Whatever the storage choice, keep it out of the walkway between zones. A cabinet door that swings into the cook's path undoes the circulation planning done earlier in the layout.
Seasonal considerations and weatherproofing strategies
An outdoor kitchen faces conditions an indoor one never does: freeze cycles, direct sun, driving rain, and in many climates, months of disuse. Counter materials need to handle that range without cracking or fading. Natural stone and concrete tend to hold up across seasons, while some engineered composites can discolor under prolonged UV exposure.
Plumbing is the most common seasonal failure point. Exposed water lines need either a shutoff and drain procedure before freezing temperatures arrive or insulation rated for the local climate, since a cracked pipe under a counter is far more expensive to fix than one that was drained in the fall.
Cabinetry doors and hinges exposed to repeated wet and dry cycles benefit from stainless or marine-grade hardware rather than standard exterior-rated fittings, which corrode faster under constant moisture. A cover or roof over the cooking zone reduces how much rain and UV the appliances take directly, extending the life of grills and side burners that would otherwise sit exposed year round.
Appliances themselves need a seasonal routine. Covering a grill when it is not in use, disconnecting and storing portable fuel sources according to the manual, and checking gas line connections each spring catches small issues before they become safety problems. In regions with real winters, draining and covering an outdoor sink, and checking that any built-in refrigerator is rated for outdoor temperature swings, prevents damage that would otherwise show up as a surprise repair bill the following spring.

Integration with outdoor dining and social areas
An outdoor kitchen rarely stands alone. It works best as part of a larger social area, and how it connects to dining and lounge space changes both the shape you choose and how guests move through the yard.
The entertainment zone identified earlier in the planning process is the hinge point. A bar counter facing a seating area lets guests talk to the cook without stepping into the work zone, which keeps the galley or L-shaped layout functional during a party instead of becoming a chokepoint. A separate dining table set farther back works well for longer, seated meals, since it keeps serving traffic from crossing directly through the cooking zone.
House access matters here too. This Old House's build guide recommends locating the dining area and the path back into the house as part of the same traffic-flow test used for the cook's path, since guests moving in and out for refills or restroom trips need their own clear route that does not cut through the prep or cooking zones.
Shade and lighting tie the cooking area to the social space visually as well as functionally. A pergola or shade structure that extends slightly beyond the kitchen into the seating area creates one continuous zone rather than two disconnected spaces, and ambient lighting strung between the two reinforces that the kitchen and the gathering area are one planned space, not an afterthought bolted onto a patio.
Designer perspective: prioritize flexible workspace and guest comfort
Extra counter space earns its keep more than any decorative extra will. Build a rough mockup, walk it, then talk to a contractor before you order a single appliance.
— Rokas
Try a 3D planning tool to validate your layout and get live cost estimates
Testing a layout on paper only goes so far. We built Veete so you can model your outdoor kitchen in 3D, check clearances and sightlines from every angle, and see a live cost estimate update as you adjust counters, appliances, or coverage.
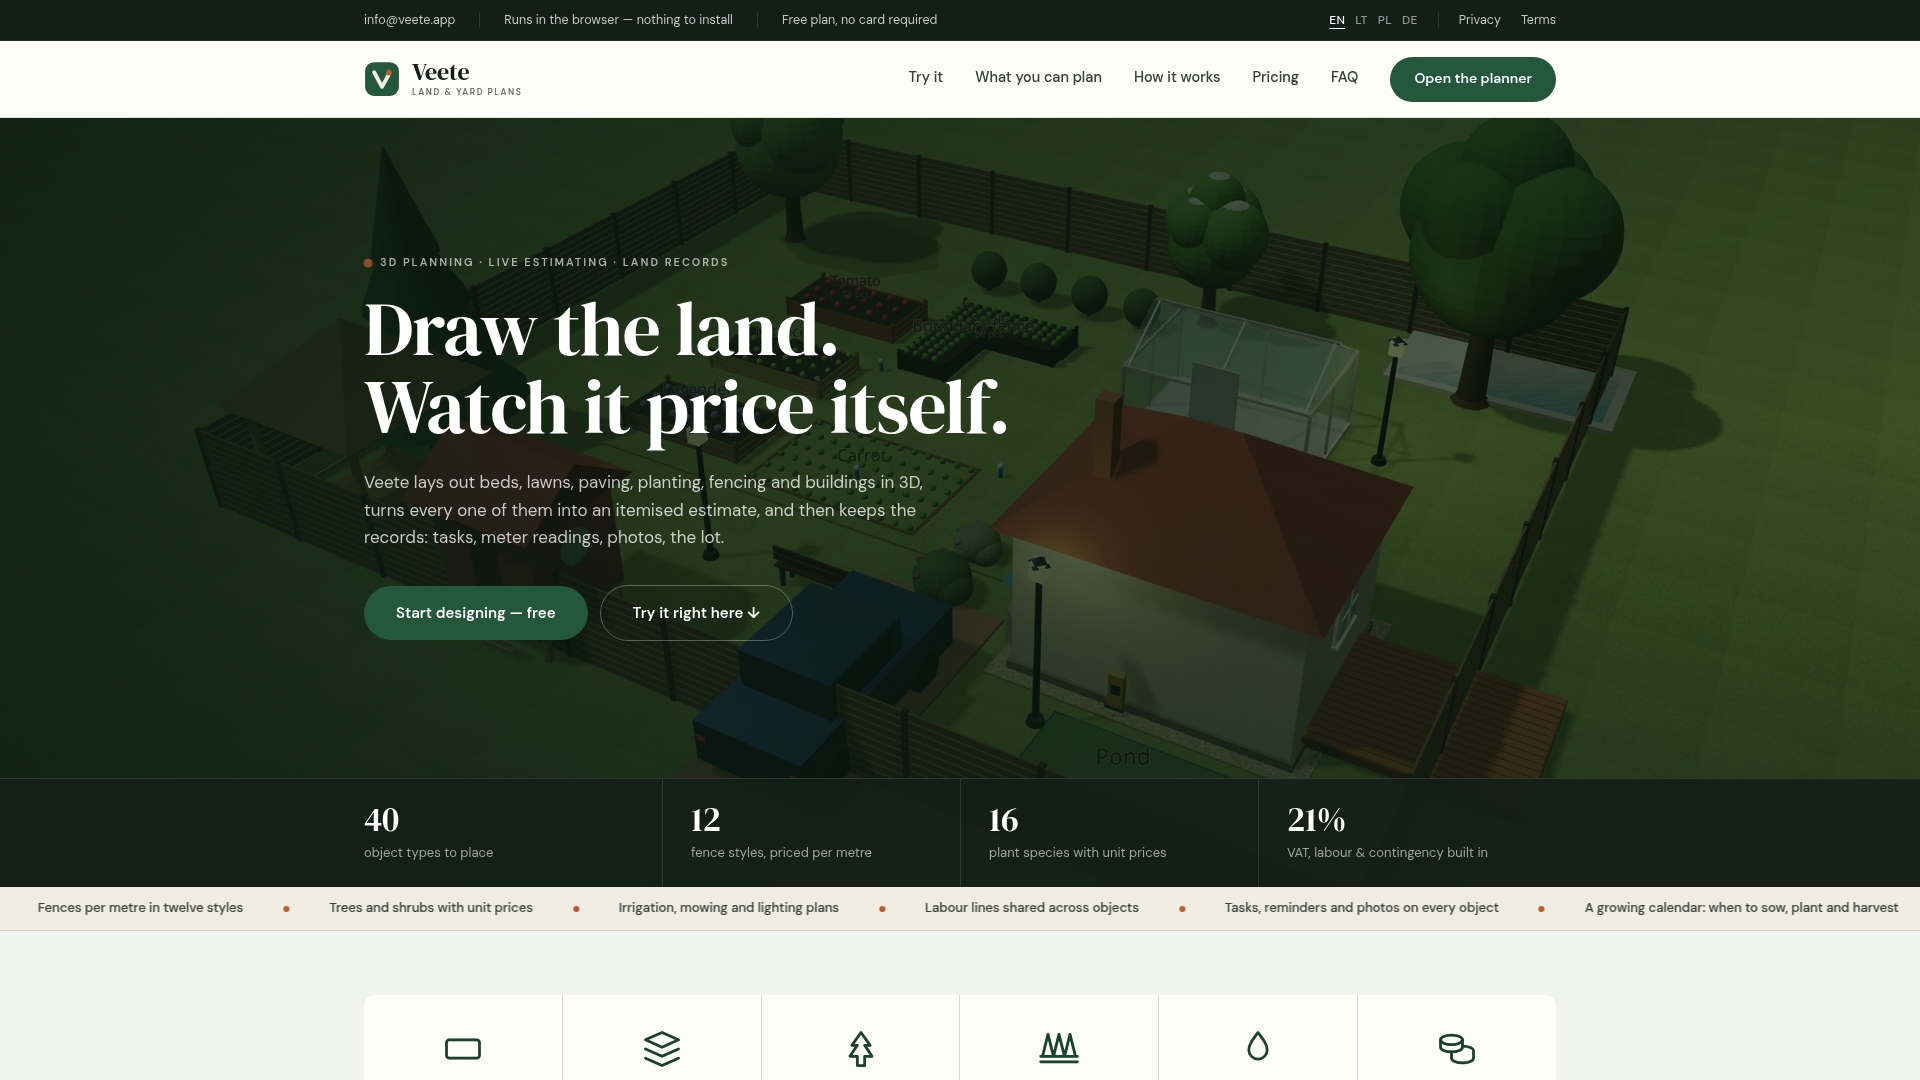
What that looks like in practice:
- Build a 3D mockup of your zones and walk the cook's path before anything gets built.
- Watch pricing update automatically as you add or resize appliances, counters, and storage.
- Export a contractor-ready plan and shopping list once the layout holds up.
A straightforward layout on a small patio is often worth testing yourself first. A larger build with structural coverage or complex utility runs usually still needs a licensed contractor, but you can hand them a tested plan instead of a sketch. Check our plans and pricing, including a free tier with no card required, and mock up your own layout before you buy anything.
FAQ
What is the best layout for an outdoor kitchen?
There is no single best layout. The right shape depends on your site and habits: a linear run suits narrow spaces, an L-shape separates cooking from prep on a mid-size patio, a galley fits multiple cooks, and a U-shape works well for frequent entertaining.
What are common outdoor kitchen mistakes?
The most frequent errors are skipping landing space next to the grill, ignoring manufacturer clearances, poor circulation around the cook, and utility runs that were not mapped before construction began. A pre-build checklist that covers measuring, mocking up the layout, and confirming codes catches most of these before they become expensive.
What are the outdoor kitchen trends for 2026?
Design discussion increasingly emphasizes 3D planning before construction, since testing clearances and guest flow digitally helps catch problems that flat sketches miss. Zone-based layouts, flexible storage, and integrated dining and lounge areas remain the consistent themes behind most current designs.
Is it cheaper to build or buy an outdoor kitchen?
Prefab islands offer modular convenience and lower upfront complexity, with configurations ranging from compact 3-foot units to 15-foot islands, while custom builds cost more but allow full control over the footprint. The cheaper option depends on site conditions and how close utilities already run to the build area.
Sources
- Plan & Build An Outdoor Kitchen | Lowe’s
- How to build an outdoor kitchen | This Old House
- Portable Outdoor Barbecues | UpCodes
- Planning outdoor kitchen zones | BBQGuys