
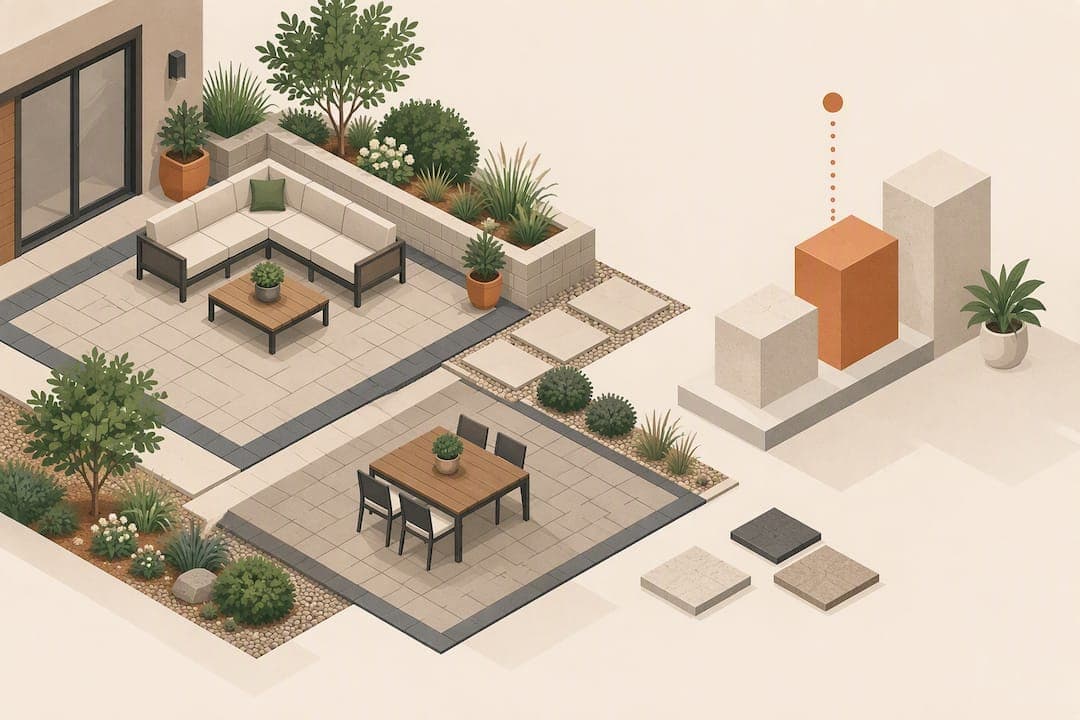
A successful paver patio starts with fit, not style: match the layout to how you actually plan to use the space, then get the base and drainage right before you fall in love with a pattern. Measure your furniture footprint, sketch two or three layout options, and check the slope of your yard. The base and drainage work, more than the pavers you pick, decide whether the patio lasts twenty years or cracks apart in five.
TL;DR:
- Choosing high-traffic areas like driveways for herringbone patterns ensures even weight distribution and durability.
- Base and drainage work are more critical than paver selection for patio longevity, especially in clay soils or climates with freeze-thaw cycles.
- Proper sizing, slope, and a detailed mockup significantly decrease the risk of costly mistakes and functional issues later on.
Table of Contents
- Pattern gallery: practical paver patterns and when to use them
- Choosing materials and finishes for your patio
- How much space and slope does your patio actually need?
- Build fundamentals: base, compaction, edge restraints, and jointing
- Budgeting your paver patio: what drives the cost
- Keeping your patio looking good for years
- Designing your patio in 3D before you commit to materials
- A pragmatic way to think about your patio design
- Try Veete free: design your patio in 3D with live pricing
- FAQ
- Sources
Pattern gallery: practical paver patterns and when to use them
The pattern you choose should answer a practical question first: how much traffic, weight, and visual interest does this space need? Running bond and stack bond are the simplest layouts, with rows of identical pavers offset or aligned. They install quickly, waste little material, and suit modern patios where you want the hardscape to recede into the background.
Herringbone is the workhorse pattern for driveways, pool decks, and any patio that sees heavy foot traffic, rolling grills, or parked furniture. The interlocking 45 or 90 degree angles distribute weight across more contact points, which is why installers reach for herringbone on driveable surfaces and high-use entertaining areas.
Circular or radiating patterns draw the eye to a focal point, a fire pit, a fountain, or a seating circle, and work best as an accent within a larger field rather than across an entire patio. Checkerboard patterns that alternate pavers with turf or ground cover bring texture to small urban yards and soften what would otherwise be a solid slab of hardscape.
Borders and soldier courses (a single row of pavers laid perpendicular to the field) frame irregular shapes and give curved or angled patios a finished edge instead of a ragged cut line.
- Running or stack bond: fastest to install, best for minimalist or budget-conscious designs.
- Herringbone: strongest for high-traffic or driveable areas, classic texture.
- Circular or radiating: ideal for framing a fire pit, fountain, or fixed focal point.
- Checkerboard with turf: adds contrast and drainage relief in compact spaces.
- Soldier course borders: clean up irregular edges and curved transitions.
Choosing materials and finishes for your patio
Material choice affects three things you will notice every day: how the surface feels underfoot, how it ages, and how much it costs installed. Concrete pavers dominate the market because manufacturers produce them in dozens of shapes, sizes, and textures at a price point most budgets can absorb. Clay brick costs more but holds its color permanently since the pigment runs through the entire unit rather than sitting on a coated surface, giving brick patios a warm look that does not fade.

Natural stone (flagstone, travertine, bluestone) offers the most visual individuality because no two pieces match, but irregular shapes mean more cutting and fitting labor, which raises the installed cost. Permeable pavers use wider joints filled with open-graded aggregate instead of sand, letting water drain through the surface rather than running off.
Permeable paver systems reduced annual runoff volume by roughly sixty percent in monitored multi-year sites, according to research from the University of Maryland Extension, making them a genuine option where local drainage rules or a soggy yard are a problem. They do require siting review: the same research flags that permeable systems need underdrains when native soil cannot infiltrate water fast enough, and they call for periodic vacuuming to keep the joints from clogging with fine sediment.
- Concrete pavers: widest shape and color selection, most budget-friendly option.
- Clay brick: colorfast and premium looking, costs more than concrete.
- Natural stone: unique character, higher labor and material cost.
- Permeable pavers: manage stormwater, need suitable soil or an underdrain.
Textured finishes hide dirt and resist slipping when wet, while smooth finishes read as more formal. Lighter paver colors stay noticeably cooler underfoot in direct sun than dark gray or charcoal units, worth weighing if your patio gets full afternoon exposure.
How much space and slope does your patio actually need?
Before you order a single paver, size the space for the furniture and traffic it has to hold. A dining set for six typically needs a footprint large enough for the table plus 36 inches of pulled-out chair clearance on every side. A conversational seating group wants at least 42 to 48 inches between furniture pieces so people can walk through without turning sideways, and a fire pit needs a 3 to 5 foot clear buffer from any seating edge.
- Measure your furniture (or the footprint you plan to buy) and add clearance space around every piece.
- Stake the corners of your proposed patio and run string or tape to outline the shape in your yard.
- Walk the mockup for a few days, carrying a chair or a grill through the space to test real circulation.
- Check the slope: a consistent grade of about 1.5% to 2% away from the house moves water off the surface without making furniture feel tilted, according to ICPI guidance.
- If your yard slopes toward the foundation instead of away from it, plan for regrading or an underdrain before you touch the base material.
Pro Tip: Tape off your patio outline with painter's tape on the lawn and leave it for a weekend. Most sizing mistakes show up the first time you try to walk through the space with a tray or a chair in hand.
Skipping the mockup step is the single most common reason homeowners end up with a patio that is technically finished but functionally cramped.
Build fundamentals: base, compaction, edge restraints, and jointing
A paver patio is only as good as what is underneath it, and this is where DIY projects most often fail. The excavation and base depth need to account for your climate and soil: a well-drained site generally needs 4 to 6 inches of compacted base, while clay soils or freeze-thaw climates call for closer to 8 inches, compacted in 2-inch lifts so each layer locks together instead of leaving hidden voids, per ICPI's paver patio guidance.
Edge restraints go in before the field pavers, not after. Setting a rigid plastic, metal, or concrete edge first lets installers establish a true, consistent border line that the rest of the pattern can be cut to fit against, rather than discovering gaps once the field is already laid.
- Excavate to the full depth needed for base, bedding sand, and paver thickness combined.
- Add geotextile fabric over the subgrade on silt or clay soils to stop the base material from migrating into the soil over time.
- Place and compact base aggregate in 2-inch lifts, ordering about 15% extra material to account for compaction loss.
- Set edge restraints around the perimeter before laying field pavers.
- Screed a thin, level bedding sand layer, then lay pavers tight to your chosen pattern.
- Sweep in polymeric sand (or standard jointing sand for permeable systems) and compact the finished surface with a plate compactor.
ICPI's geotextile guidance recommends choosing woven versus non-woven fabric based on soil strength, with higher permittivity needed on permeable installations so water can still pass through.
Preparation determines longevity, not the paver itself.
Polymeric sand locks joints and resists weed growth better than plain jointing sand, though it needs to cure dry for 24 to 48 hours. For clean cuts around curves or utility fixtures, a wet tile saw with a diamond blade gives a straighter edge than a hand chisel and avoids cracking the paver face.
Budgeting your paver patio: what drives the cost
Four line items make up most paver patio budgets: base excavation and material, the pavers themselves, labor and site access, and any drainage or edge work beyond the basics. Base prep and labor typically outweigh the cost of the pavers, which is why two quotes using the same paver can differ by thousands of dollars.
A properly built concrete-paver patio runs about $18.94 per square foot installed as a 2026 US national average, with a 20 by 20 foot patio costing roughly $7,576 installed, broken down as about $1,944 in pavers, $3,176 in other materials, and $4,400 in labor. That split shows why a quote well under $12 per square foot is a red flag: it usually means shortcuts on base depth or compaction rather than a genuine bargain.
| Cost component | Share of a typical $7,576, 400 sq ft project |
|---|---|
| Pavers | about $1,944 |
| Other materials (base, sand, edging) | about $3,176 |
| Labor | about $4,400 |
Before hiring, ask contractors directly about base depth for your soil type, whether edge restraints are included, and what warranty covers settling or joint loss. DIY installation saves most of the labor line but demands the compaction equipment and the patience to do base work correctly, per This Old House's installation walkthrough.
Keeping your patio looking good for years
Routine care is light: sweep debris regularly and rinse the surface a few times a year, resealing every two to three years if you want color protection and extra sand lock, though sealing is optional rather than required. Replacing a damaged paver is a weekend job: pry it out, add or remove bedding sand until the new unit sits flush, and reset it with a rubber mallet.
- Re-sand joints with polymeric sand whenever you notice gaps opening between pavers.
- Pull weeds early, since gaps that lose their sand lock are the most common entry point.
- Watch for efflorescence, the white mineral haze that sometimes appears on new concrete pavers, which typically fades with normal weathering and rinsing.
- Re-level any paver that sinks or tilts before it becomes a trip hazard.
Designing your patio in 3D before you commit to materials
Planning on paper makes it hard to judge whether a herringbone field will actually look right at your patio's size, or whether a dining set will fit the circulation space you sketched. A 3D tool lets you drop in pattern, furniture, and borders at true scale and see the result before any pavers are ordered. Live pricing tied to each object means swapping concrete for natural stone instantly updates the estimate, and exported plans or shopping lists carry straight into procurement or a contractor handoff.

A pragmatic way to think about your patio design
Function first, pattern second: decide how the space gets used, then pick the layout that supports it. A quick mockup, whether staked in the yard or built in a 3D planning tool, catches sizing mistakes that are expensive to fix once pavers are set in sand. My own checklist stays short: measure the space, mock it up, choose the material, then confirm the base and drainage plan before ordering anything.
— Rokas
Try Veete free: design your patio in 3D with live pricing
We built Veete so you can lay out patio patterns, furniture, and borders in 3D and see a live cost estimate update as you swap pavers, resize the footprint, or add a fire pit, all before you buy a single paver.
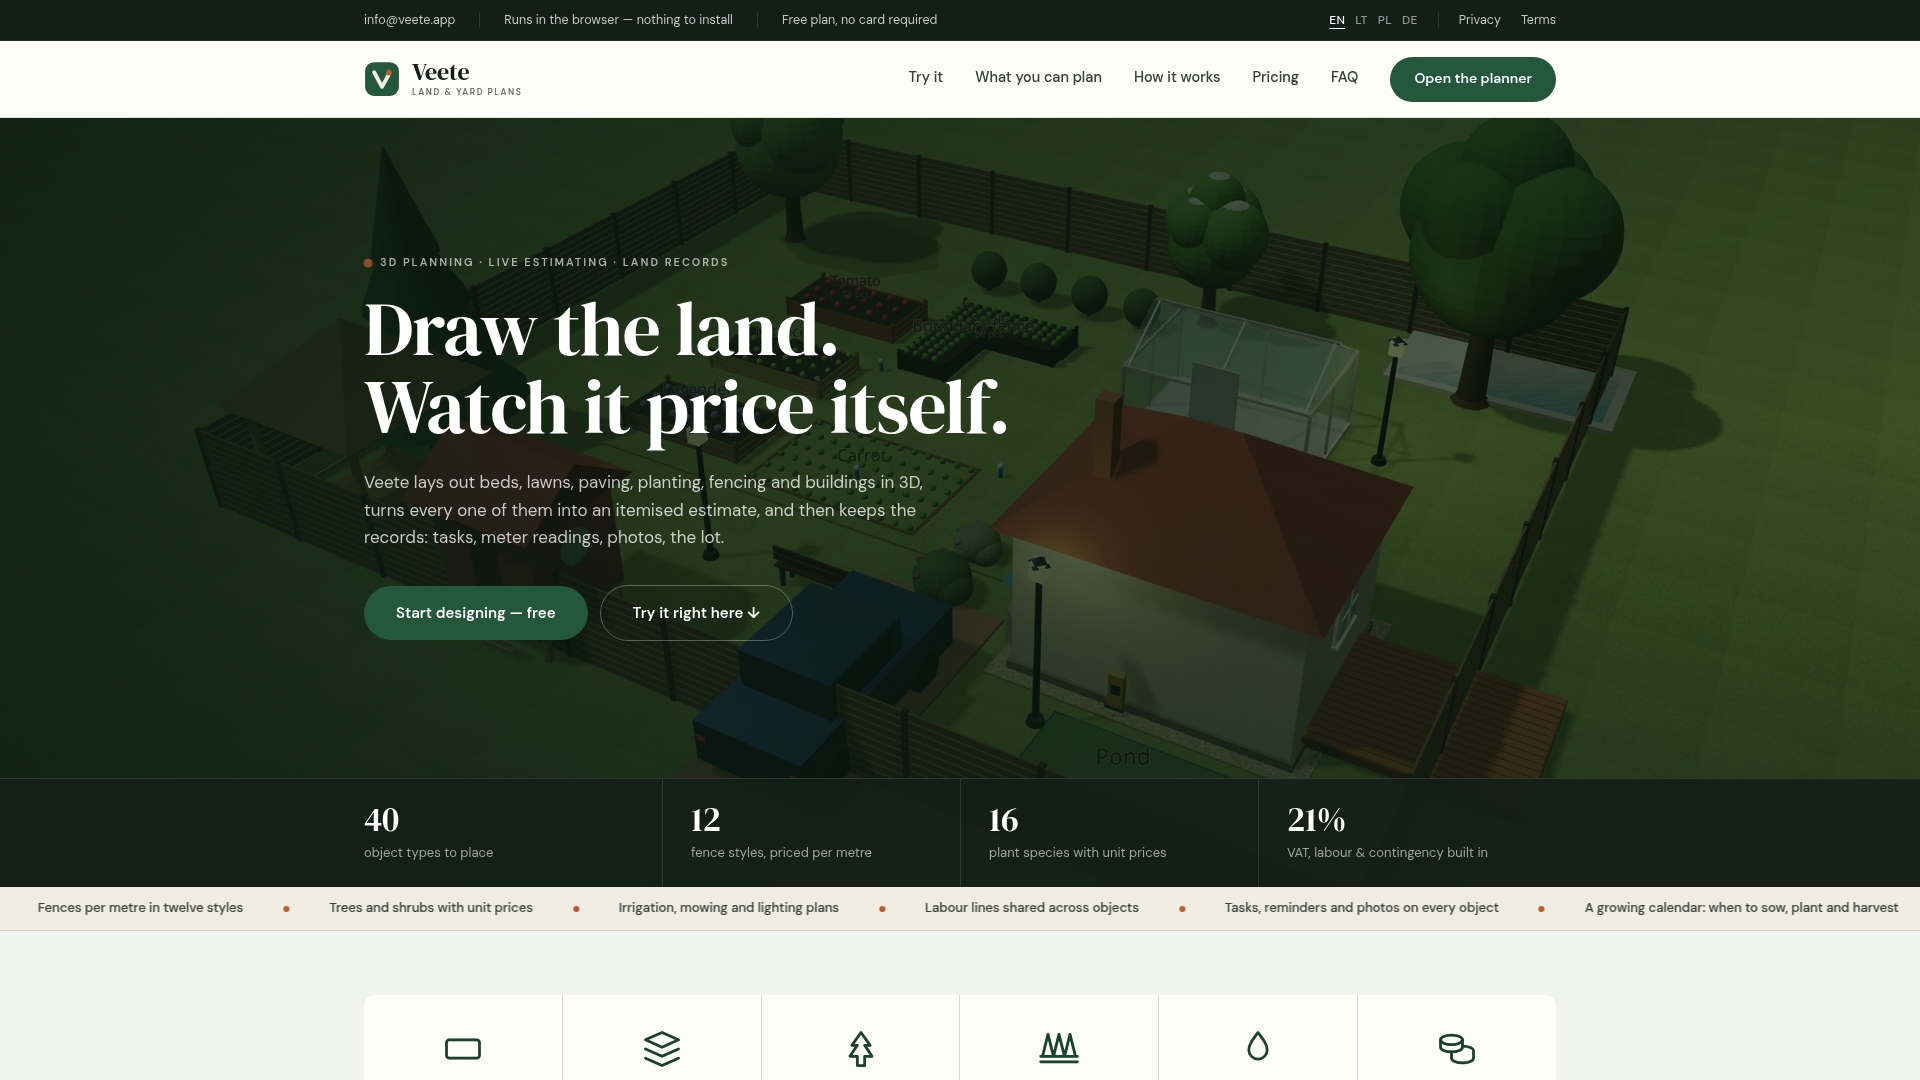
Our free plan needs no card to start, and if you want multiple projects, exportable shopping lists, or contractor-ready plans, the Home and Pro plans are listed on our pricing page. Start your layout today and see what your patio actually costs before you commit to it.
FAQ
How much does a 20x20 paver patio cost?
A 20 by 20 foot (400 square foot) concrete-paver patio runs about $7,576 installed at the 2026 US national average rate of about $18.94 per square foot. Natural stone or permeable systems typically cost more due to labor or material differences.
How do I lay out a paver patio?
Start by measuring your furniture footprint and sketching the shape, then stake and tape the outline in your yard to test circulation before choosing a pattern. Confirm the site slopes about 1.5% to 2% away from your home, as recommended by ICPI, before finalizing the base plan.
Is it cheaper to do a paver patio or concrete?
Poured concrete slabs are often cheaper upfront per square foot than pavers, but pavers typically cost less to repair since individual units can be replaced without breaking up a whole slab. The better choice depends on your budget for the initial build versus long-term repair flexibility.
Can I lay pavers directly on dirt?
No, pavers need a compacted base layer, typically 4 to 8 inches depending on soil type, per ICPI's installation guidance, to prevent shifting, sinking, and drainage problems. Skipping the base is one of the most common causes of patio failure within a few years.
What slope should a paver patio have for drainage?
A consistent slope of roughly 1.5% to 2% away from the house is the standard recommendation for moving surface water safely off a paver patio, according to ICPI. Steeper slopes are sometimes used for extra drainage, but they can make furniture feel noticeably tilted.