
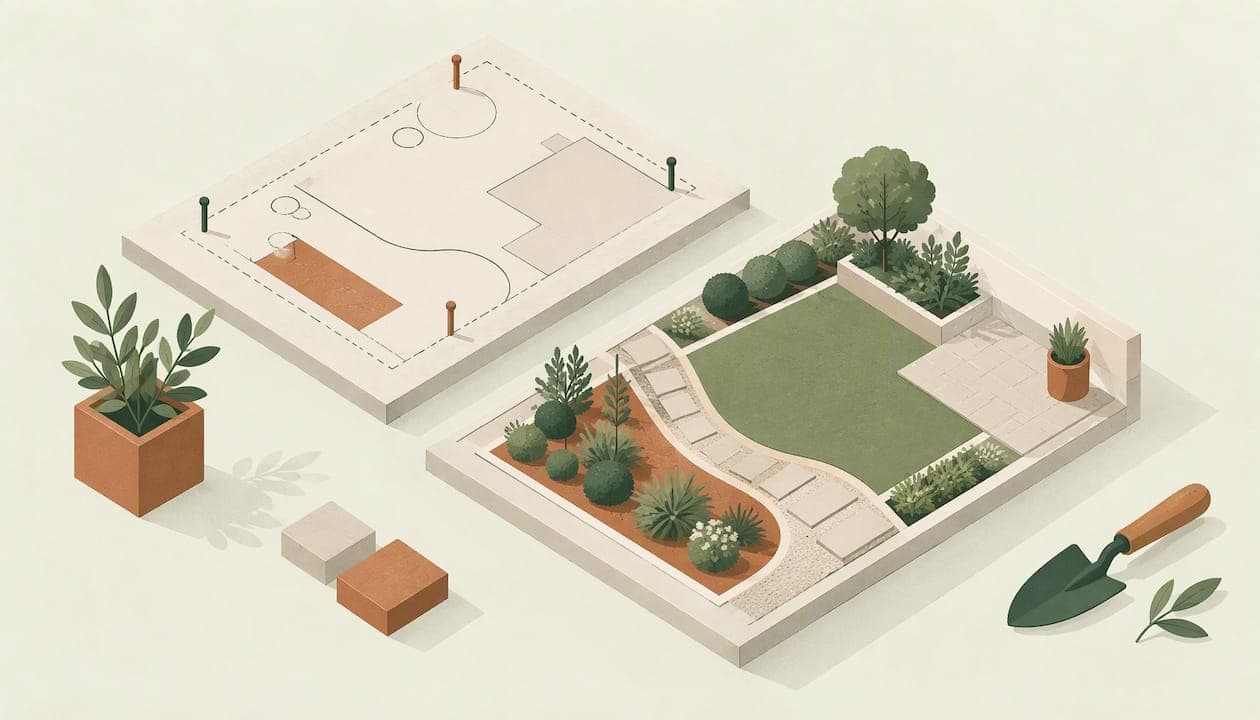
Start your backyard landscape planning by making a scaled base plan and completing a site analysis, before you pick a single plant or buy any material. That groundwork exposes drainage problems, buried utilities and grade changes while they are still cheap to fix. Phasing and planning tools come next, once you know what the yard can actually support.
TL;DR:
- A 1 inch to 10 feet scale fits many typical yards on one sheet; record seasonal sun, drainage, soil, wind, and utility lines.
- Rank outdoor activities by how often they happen, then place daily play areas and dining near the back door and service zones within reach.
- Reserve phase one for grading, drainage, utilities, patios, and main paths; add a budget contingency for hidden lines or soil repairs.
- Draw plants at mature size and match them to site conditions; treat odd numbered groupings as a starting suggestion, not a rule.
- Permit rules vary locally, so check requirements for walls, fences, grading, and stormwater changes, and locate underground utilities before excavation.
Table of Contents
- Quick start checklist for planning your backyard today
- How do you draw a scaled base plan and run a site analysis?
- How do you turn a wish list into outdoor rooms?
- How should paths and focal points connect the rooms?
- How do you choose plants for your backyard microclimates?
- Why do drainage and hardscape come first?
- Which planning tools actually help?
- How do you assess and improve your soil?
- How do you plan irrigation and manage water?
- What does maintenance planning involve?
- Do you need permits for backyard landscaping?
- A practical habit that prevents landscaping regret
- How Veete helps you plan and price your backyard
- FAQ
- Sources
Quick start checklist for planning your backyard today
You can work through this list with a tape measure, graph paper and a notebook.
- Measure the property and draw it to scale. Use your plat or survey if you have one, and mark the house, fences, sheds and trees.
- Walk the yard and note sun, shade, wet spots, slopes, existing trees and utility lines.
- List how you want to use the space, rank the uses, and sketch rough bubbles for each one on the plan.
- Set a budget and a timeline for phase one, and put drainage, grading and hardscape ahead of anything that grows.
Pro Tip: Photograph the yard from each corner and from the back door at morning, noon and evening. Photos catch shade patterns that memory gets wrong.
How do you draw a scaled base plan and run a site analysis?
Extension specialists treat the base plan and site analysis as the first two of six steps in residential landscape planning, and they recommend drawing the plan to scale. A common choice for a typical lot is 1 inch to 10 feet, which fits most yards on a single sheet.
Start from a plat of survey or a county assessor map if you can get one, then verify the key dimensions with a tape. Tape the base plan down, lay tracing paper over it, and draw each design idea on its own sheet. You can test different layouts without redrawing the property.
Record these items on the base plan:
- Permanent features: the house, doors, windows, fences, patios, sheds and easements
- Utilities: gas, water, electric and septic lines, plus overhead wires
- Slopes and drainage: where water runs, pools or soaks into the ground after rain
- Existing vegetation worth keeping, and soil clues such as compaction or bare patches
- Sun and wind: where the sun falls through the seasons and which direction the wind comes from
Extension specialists at the University of Georgia advise a site analysis that covers drainage, soil texture, sun and wind exposure and utility locations before any design begins, because ignoring these leads to high maintenance or failing features later. Observe across seasons if you can. A spot that is sunny in July can be shaded in March when the sun sits lower.
If your project involves complex grading or boundary questions, a professional measured survey saves guesswork. Firms such as SGS Surveys produce topographic surveys and CAD-ready drawings for exactly that purpose.
How do you turn a wish list into outdoor rooms?
Think of the yard as a set of outdoor rooms, each with a job. Michigan State University Extension describes landscape design as problem solving, and its guidance puts function and family lifestyle ahead of arbitrary aesthetics.
Write a short design program first. List each activity and how often it happens: weekly dinners outside, kids playing daily, a vegetable bed, a compost area, bike storage. Frequency tells you where each room belongs.
Then draw bubbles on tracing paper over your base plan, one per activity, sized roughly to scale. Delaware's cooperative extension uses this same bubble method before choosing materials or plants.
- Put high-use rooms, like a dining patio or play lawn, close to the back door.
- Keep service areas, such as trash bins, compost and storage, out of sight lines but easy to reach.
- Separate noisy zones from quiet seating, and use fences, hedges or distance for privacy.
- Size a dining area for the table plus room to pull chairs out, not just the table itself.
How should paths and focal points connect the rooms?
Once the rooms have locations, connect them. Paths are the part of the design you will use every single day, so they deserve planning rather than leftovers.
- Make main routes wide enough for two people to walk side by side, and secondary paths narrower to signal a quieter route.
- Let paths follow where people naturally walk. A path that forces a detour may get cut across.
- Mark thresholds between rooms with a change in paving, a small grade shift, an arbor or a pair of plantings, so each space feels defined.
- Place focal points, like a specimen tree, a bench or a water feature, at the end of sightlines from the house and along main paths.
Design principles such as proportion, repetition and unity from University of Florida extension help here: repeat a material or plant at several points and the yard feels organized instead of assembled piece by piece.
How do you choose plants for your backyard microclimates?
Plant selection comes last in the design process. NC State Extension describes planting as the final step, after drainage, soils and use areas are resolved, so the design works functionally as well as visually.
Use the site analysis to match plants to conditions: full sun, part shade, dry soil, wet soil. A plant in the wrong spot will struggle no matter how well you care for it.
- Work in layers. Place canopy trees and structural shrubs first, then medium shrubs and perennials, then groundcovers.
- Draw each plant as a circle at its mature size, not its nursery size, so you do not overcrowd the beds.
- Repeat plants in masses for unity instead of single specimens of everything.
- Choose native plants and low-maintenance groundcovers where they fit the site, since they usually need less water and fewer inputs.
You may have heard of the 3-5-7 rule, which suggests planting in odd-numbered groups. Extension material from the University of Wisconsin treats such rules as arbitrary and says site-specific needs should come first. Use odd groupings as a starting habit, not a law.
Pro Tip: Buy one of each plant first and test it in the actual spot for a season before ordering a full mass planting. Our guide to low maintenance landscaping ranks options worth testing.
Why do drainage and hardscape come first?
Practitioner guidance from Mississippi State University Extension recommends phasing projects and prioritizing infrastructure, meaning drainage, utilities and hardscaping, because retrofitting these later is costly and disruptive. Plants can be added gradually. A regraded yard or a new patio cannot be done around mature roots without damaging them.
Here is a phased template you can adapt:
- Phase one: grading, drainage, utilities and permanent hardscape such as patios, walls and main paths.
- Phase two: structural plantings, including trees and large shrubs, along with irrigation lines.
- Phase three: beds, seasonal plants, lighting details and finishing touches.
Add a contingency to the phase-one budget for surprises like unseen utilities or soil that needs amending. Our front yard drainage-first guide walks through the same sequencing, and our landscape cost guide helps you think about budgeting across several years. If your yard is part of a larger renovation, phased project management advice for multi-stage home work applies to landscaping too.
Which planning tools actually help?
Low-tech tools go a long way. Tracing paper overlays let you test layouts quickly, and a garden hose laid on the ground shows the true shape and scale of a bed or patio before you commit. A long tape and stakes with string confirm distances the plat may have wrong.
Digital tools help when you want to see the yard in three dimensions or compare options. Look for these features:
- Scaled drawing, so measurements match reality
- A plant and object library you can drag into the plan
- Export options for sharing with a contractor
- Cost estimates tied to the objects you place
Bring in a professional surveyor or designer when the site has steep grades, drainage that crosses property lines, or legal constraints.
How do you assess and improve your soil?
Soil determines what survives, so test it before you design planting beds. The site analysis from extension specialists includes soil texture, and you can get a rough read at home. Squeeze a moist handful: if it forms a tight ribbon, it is heavy in clay, and if it falls apart immediately, it is sandy. Dig a hole, fill it with water, and watch how long it takes to drain. Standing water after several hours points to a drainage problem that belongs in phase one.

For a precise picture, send a sample to your local extension office or a soil lab. The report typically covers pH and nutrient levels and suggests what to add. Pull samples from several spots, since a yard often has more than one soil condition.
Improvement depends on the result:
- Compacted soil: loosen it before construction ends, and keep heavy equipment off planting areas
- Clay: add organic matter over time and choose plants tolerant of wet feet rather than fighting the soil
- Sandy soil: work in compost to hold moisture and nutrients
- Wrong pH: amend according to the lab report rather than guessing
The most important rule is to improve the soil before you plant, not after. Digging amendments into an established bed damages roots. If you want a plant the soil cannot support, consider a raised bed, and our raised bed layout templates show common sizes.
How do you plan irrigation and manage water?
Plan water before you plant, because pipes and drainage are infrastructure. Your site analysis already shows where water runs, pools and drains. Use that map to decide where water should go and where plants will need supplemental watering.
Group plants by water needs, a practice often called hydrozoning. Thirsty plants share a zone near the spigot or a downspout, and drought-tolerant plants live farther out. This prevents overwatering one plant to keep its neighbor alive.
Sustainable approaches fit naturally into the plan. University of Maryland Extension highlights rain gardens and minimizing grading as part of sustainable design. Direct a downspout into a planted depression instead of onto a path or toward the foundation, and our rain garden design guide shows how to plan and price one.
For irrigation itself:
- Run supply lines and sleeves under paving during phase one, even if you will not water those areas until later
- Drip irrigation delivers water to roots with less waste than overhead spray for beds and shrubs
- Put a timer on any system, and adjust it by season
- Water deeply and less often for trees and shrubs so roots grow downward
Mark every line on your base plan, and keep a copy. You will need it when a pipe leaks or a fence goes in.
What does maintenance planning involve?
A landscape you cannot maintain becomes a project you resent. Plan upkeep at the design stage by asking how much time you really have each week, then choose accordingly.
Mature size is the biggest factor. A shrub planted where it will outgrow its space needs constant pruning. Drawing mature-size circles during planting design prevents that, and mulched beds with groundcovers reduce weeding.
Build a simple seasonal rhythm:
- Spring: clean up beds, check irrigation for leaks, fertilize only where a soil test calls for it, and mulch
- Summer: water deeply, deadhead, weed before weeds set seed, and watch for pests
- Fall: remove diseased material, plant trees and shrubs where your climate allows, and shut down irrigation if freezes occur
- Winter: prune dormant trees and shrubs suited to winter pruning, and review what worked
Time pruning to the plant. Spring-flowering shrubs are generally pruned right after they bloom, and pruning at the wrong moment removes next year's flowers. Check guidance for each species before cutting.
Keep a simple maintenance calendar next to your base plan, and revise it after each phase. If a task keeps getting skipped, the design is telling you something. Swap that high-effort bed for something easier.
Do you need permits for backyard landscaping?
Often yes, and the rules vary by city, county and country, so check before you dig. Common triggers include retaining walls above a certain height, fences, decks, sheds, pools, significant grading, and changes that alter how stormwater leaves your lot. Tree removal can also be regulated in some places.

Start with your local building or planning department. Ask what needs a permit, whether there are setback rules from property lines, and whether stormwater or erosion controls apply. If you belong to a homeowners association, read its covenants too, since they may limit fence styles, plant types or structures independent of city rules.
Know where your utilities run before any digging. Most regions offer a free line-locating service you call before excavation, and your base plan should record what they mark.
Easements deserve a close look. Utility easements on your plat may restrict building or planting there. Your survey or plat shows them, which is another reason to start with accurate base documents. If boundaries are unclear, a professional survey settles it before you build something in the wrong place.
Permit requirements are local, so confirm with your own jurisdiction rather than relying on general guidance, including ours. Build permit time into your phase-one schedule, because approvals can take weeks.
A practical habit that prevents landscaping regret
Keep a project binder, digital or paper, from day one. Store the base plan, each tracing-paper alternative you rejected and why, photos after every phase, plant names and suppliers, and the location of every buried line. Later, that record can answer questions memory cannot.
Resist impulse planting before the hardscape is settled. A beautiful tree bought on a whim becomes an obstacle to the patio you built later. After each phase, pause, walk the yard, and reassess before starting the next one.
— Rokas
How Veete helps you plan and price your backyard
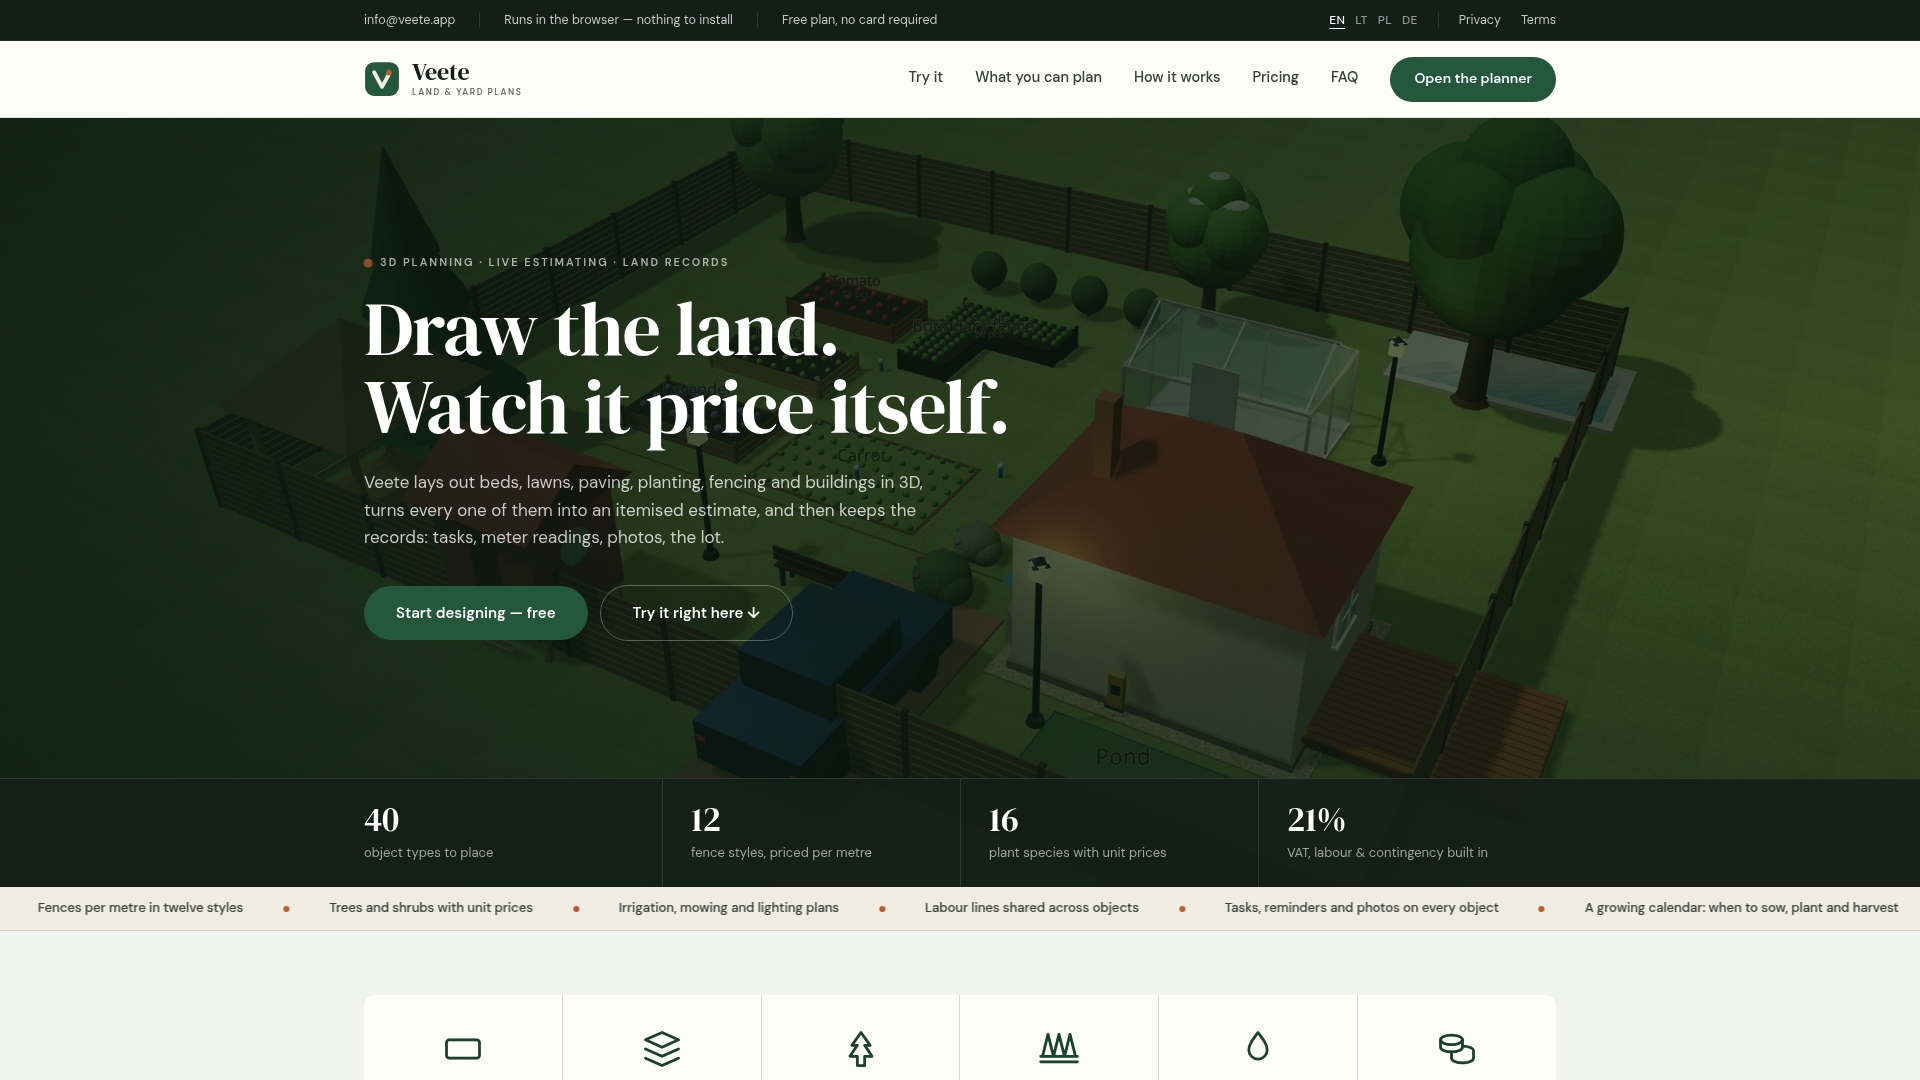
Paper plans are a great start, but changing one detail often means redoing the math. We built Veete to solve that. It is a browser-based 3D planning tool where you lay out beds, lawns, paving, fences and structures, and every object carries its own price.
Based on what we offer, here is what that means for your backyard project:
- Visualize layouts in 3D before you buy materials
- See itemized pricing linked to each object, updating as you change the design
- Enter your own supplier rates so estimates match what you will actually pay
- Compare alternatives quickly and export plans and shopping lists to share with contractors
You can start on our Free plan, with no card required. Our Home plan costs €6 per month or €48 per year, and Pro costs €19 per month or €168 per year. Check the pricing page and build your first phase-one plan today.
FAQ
What is the 3-5-7 rule in landscaping?
It is a guideline to plant in odd-numbered groups of 3, 5 or 7 for a natural look. Extension guidance cautions that such rules are arbitrary and site needs should come first.
How do I design a landscape plan for my backyard?
Draw a scaled base plan, analyze the site, and list how you will use the space. Then place use areas with bubble diagrams, connect them with paths, and choose plants last, once drainage, soil and hardscape are settled.
Is there an app to plan landscaping your yard?
Yes, several tools let you lay out a yard digitally. We offer Veete, which provides browser-based 3D planning with itemized pricing tied to each object, and it has a free plan to try.
What is the cheapest way to landscape a backyard?
Phase the work and start with the basics: fix drainage, then do the most-used areas first. Choose native, low-maintenance plants, and plant small, since young plants cost less and fill in over time.