
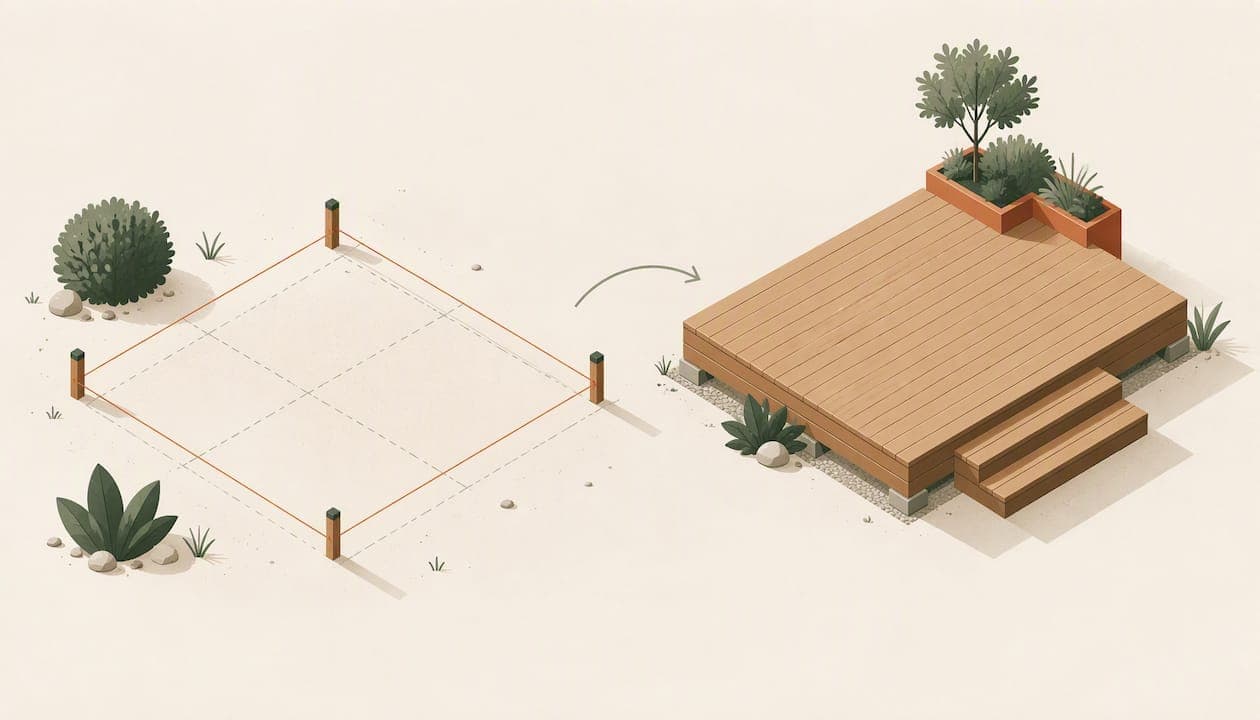
A good deck layout starts with how you will use the space, not with its dimensions. Define zones for dining, lounging and grilling, check the site and local code limits, mark the footprint on the ground, and only then draw the plan and price it. This guide walks through that order, shows where the money goes, and explains what to look for in deck design software.
TL;DR
- Plan by activity first: decide what the deck is for, size each zone, then draw the outline around those zones.
- Check setbacks, sun, drainage and your local permit rules before you fall in love with a shape. Deck codes are hyper-local.
- Mark the footprint with stakes and string, and set furniture on the ground, before you commit to a plan.
- A basic 10x16-foot pressure-treated deck runs roughly $800 to $1,000 in materials alone, and complex shapes add to that.
- Whatever tool you draw in, tie prices to the objects in the plan so a change to the layout updates the cost.
Table of Contents
- Start with what the deck is for
- Read the site before you draw the shape
- Check the rules that shape the layout
- Mark it on the ground
- Draw the plan
- What a deck costs, and how layout changes it
- Choosing deck design software
- Our perspective: price every object in the plan
- Plan and price your layout in Veete
- A planning sequence you can follow this weekend
- FAQ
- Sources
Start with what the deck is for
Most layout mistakes happen before anyone picks up a pencil. Homeowners often confuse a large deck with a useful one. Fine Homebuilding's deck guidance points the same way: define zones for specific activities first, then let site constraints such as sun exposure and property setbacks temper the design.
Write a short list before you draw anything:
- Dining. How many people sit at the table on a normal weekend, and how many on a holiday?
- Cooking. Is there a grill or an outdoor kitchen, and does it need clearance from the house wall and railings?
- Lounging. Chairs, a sofa or a fire table each need more floor than most people expect.
- Circulation. Where do people walk from the door to the stairs, and to the yard?
- Storage and extras. Planters, a hot tub, a bin, a bench.
Give each zone a rough rectangle, then arrange those rectangles with walking paths between them. The deck outline comes out of that arrangement. If you want a worked example of checking clearances around a cooking zone, our piece on outdoor kitchen layouts and clearance conflicts covers the same logic.
Rough zone sizes to start from
These are working starting points for a first sketch, not code figures. Adjust them with your own furniture measurements.
| Zone | What to measure | Rule of thumb for the sketch |
|---|---|---|
| Dining | Table plus pulled-out chairs | Table footprint plus about 3 feet on every side where people sit |
| Lounging | Seating group plus a walkway | Measure your actual chairs, then add a clear path behind them |
| Grilling | Grill plus a work surface | Keep it away from the house wall and from the main walking route |
| Circulation | Door to stairs | Keep the path straight and unobstructed, never through a seating group |
The only way to know whether these numbers work for you is to test them on the ground, which is the next step.
Read the site before you draw the shape
The site decides more than taste does. A base plan, sometimes called a plot plan, shows the layout of the property and accurately locates the permanent elements on the lot. Mississippi State University Extension explains how to build one, and notes that surveyed lots usually have a survey you can start from. Pull yours out and mark:
- Property lines and the setbacks your municipality requires.
- The house walls, doors and windows the deck will touch or face.
- Existing drainage paths, downspouts, utilities and septic or well locations.
- Trees, slopes and the direction of afternoon sun.
Then go outside. Note where the sun hits at 4 p.m. in July, where the neighbors can see you, and which indoor windows look onto the deck. Placing a deck so it blocks a window's view or an existing drainage path is a common and avoidable mistake, as this deck planning guide notes.
If water is a concern on your lot, solve it before the deck goes in. Our guides on front yard drainage planning and rain garden design show how to direct water away from a build area.
Check the rules that shape the layout
Building codes are local. Something that needs no permit in one town may need full review in the next, so treat every number below as a prompt to call your own building department.
Two examples show how much the rules vary. Saint Peter, Minnesota requires a building permit for all attached decks and landings, while unattached decks under 30 inches above grade do not need one. That is one city's rule, not a national one. Also, attaching a deck to a house with frost footings can mean your deck footings must reach the frost line too, a point practitioners flag in the Grafton, Massachusetts deck guide.
For the geometry of your layout, the model code matters in a few places. Under the 2018 and 2021 International Residential Code as summarized in that same guide:
- Guards are required where the walking surface is 30 inches or more above grade.
- Guards must be at least 36 inches high, and openings must stop a 4-inch sphere from passing.
- Stairs must be at least 36 inches wide, with a maximum rise of 7-3/4 inches and a minimum run of 10 inches. Rise and run may not vary by more than 3/8 inch.
A city may amend the IRC, so confirm which edition and amendments your jurisdiction uses. If you are unsure whether your plan meets local code, ask the building department or a licensed contractor or engineer before you buy lumber.
What a permit set usually needs
A floor plan alone rarely gets approved. Permit offices commonly ask for the deck's square footage, a site plan, and structural details such as how posts connect to footings. The Grafton checklist, for example, asks for PDF submissions with specific naming. If your structural details do not match the IRC or the local amendment, review can stall. Look up your office's checklist early, because it tells you which drawings your plan must produce.

Mark it on the ground
Paper and screens lie about scale. Before you finalize anything:
- Drive stakes at the corners of the proposed footprint and run string between them.
- Walk the path from the indoor door threshold to the stairs and to the yard. Does it feel natural?
- Set your actual table, chairs and grill inside the string. Sit down. Push a chair back.
- Look at the deck from inside the house, from the street and from the neighbor's side.
- Leave the string up for a few days and watch the sun and the drainage after rain.
This sounds low-tech, and that is why it works. Practitioners recommend exactly this iterative approach: physical marking, then adjustment, then approval of the plan. Move the string as many times as you need. Moving stakes costs nothing, and moving footings costs a weekend and a lot of concrete.
Draw the plan
Once the footprint is settled, put it on paper or on screen. WOOD Magazine recommends drawing to scale, typically a quarter inch to the foot, with at least a site plan, a plan view and one or two elevations. Those drawings are the minimum most people need whether they build the deck themselves or hand it to a contractor.
A useful set includes:
- Site plan: deck position relative to the house, property lines and setbacks.
- Plan view: dimensions, decking direction, stair location, railings, posts, doors.
- Elevations: deck height above grade, stair rise, guard height.
- Framing plan: footing locations, beams, joist spacing and direction, ledger attachment if any.
- Materials list: quantities for every component, linked to the drawing.
Beyond the plain rectangle
A rectangle is cheap and easy, but This Old House suggests thinking beyond it when the site or the zones call for it. Angles, a second level or a bump-out can separate dining from lounging. The tradeoff is cost: complex shapes and high-end finishes add significantly to the baseline price, and every extra corner means more cuts, more waste and more framing.
What a deck costs, and how layout changes it
For a reference point, This Old House estimates that a standard 10x16-foot pressure-treated lumber deck costs between $800 and $1,000 in materials alone, depending on local pricing and material choice. It also estimates 4 to 6 days of construction time, plus about a week for concrete footings to cure. Treat those as a baseline for the simplest case, not a quote for your project.
Layout choices move that number in predictable ways:
| Layout decision | Effect on cost |
|---|---|
| Larger footprint | More footings, framing and decking, roughly in proportion |
| Extra corners or angles | More cuts and waste, more framing time |
| Raised height | Taller posts, longer stairs, guards required at 30 inches or more above grade |
| Premium decking or railing | Raises the material line, often more than the structure does |
| Multiple levels | Additional stairs, guards and footings |
The lesson: price the layout, not the idea. A ten-percent change in footprint is easy to draw and easy to forget to re-price. That gap between the drawing and the budget is where most overruns start. If you are budgeting for a whole yard rather than one deck, our landscape cost guide explains how to think about costs over 10 to 25 years.
Choosing deck design software
Readers often ask about the best deck design software. The honest answer is that it depends on the job, because the category covers very different tools: visual planners, structural calculators, contractor presentation tools and AI generators. Pick by what you need to produce.
| If you need to... | Look for |
|---|---|
| Show a client or spouse what it will look like | Clear 3D views you can orbit and adjust |
| Satisfy a permit office | Dimensioned plans, plus structural details such as joist, beam and footing sizing |
| Control the budget | Prices attached to objects, editable with your own supplier rates |
| Hand off to a crew or supplier | A materials and shopping list that matches the drawing |
| Work with others | Sharing and exporting plans in a form others can open |
Professional designers stress that the main value of 3D software is client communication. The reported efficient workflow pairs fast 2D drafting with client-facing 3D views, which cuts design iterations and makes sure the client understands the buildable result before construction starts. Whatever you choose, check whether it handles the structural side or only the look. Most visual tools do not replace the span tables and code details your local office requires. Many jurisdictions publish their own deck guides with joist and beam span tables, such as Washington, D.C.'s deck guide, which tells you to read it before designing your deck.
Our perspective: price every object in the plan
We built Veete around a problem we kept seeing in outdoor projects: the drawing and the budget live in different places. Someone sketches a deck, someone else tallies lumber in a spreadsheet, and a week later a changed dimension has made both out of date. Inconsistent pricing and planning errors usually come from that disconnect, not from bad intentions.

Our approach is to link price to the objects in the plan. When you move a boundary, resize a structure or change a material, quantities and costs update with it, so nobody has to re-measure by hand. You can enter your own supplier rates, because a national average is not what your lumberyard charges.
For deck layout specifically, we think the order matters more than the tool: zones first, site and code second, ground test third, drawing fourth, pricing continuously. A 3D view is most useful in the middle of that sequence, when you are deciding between two arrangements and want to see both with their costs side by side.
— Rokas
Plan and price your layout in Veete
If you want to see a deck area, nearby beds, paving and fencing in one plan, with costs that change as you edit, Veete runs in the browser with nothing to install. The Free plan needs no card, so you can test your layout on a single project first. Paid plans are Home at 6 EUR per month or 48 EUR per year, and Pro at 19 EUR per month or 168 EUR per year. Compare them on the pricing page, or start from the Veete homepage.
A deck rarely stands alone. If it sits next to garden beds, a retaining wall or a pool, those pieces belong in the same plan. See our guides to retaining wall design, pool landscaping and low-maintenance landscaping.
A planning sequence you can follow this weekend
- List activities and furniture. Measure what you own, and what you want to own.
- Pull your property survey. Mark setbacks, utilities and drainage.
- Call the building department. Ask whether a permit is required, which code edition applies, frost depth, and what drawings they want.
- Stake and string the footprint. Test it with real furniture.
- Draw the plan. Site plan, plan view, elevations and framing.
- Price it. Use local supplier prices, not national averages.
- Revise. Cut or move zones until the budget and the use agree.
- Submit and schedule. Allow time for review, and for concrete to cure.
FAQ
Do I need a permit for my deck?
Often yes, but it depends on your municipality. Some cities require permits for every attached deck and exempt only detached decks under 30 inches above grade, as Saint Peter, Minnesota does. Call your local building department before you finalize the layout, because the answer can change the structure you draw.
How do I decide on the size of my deck?
Start from activities, not square footage. Give dining, lounging and cooking their own zones, add walking paths between them, and test the footprint with stakes, string and your real furniture. A larger deck is not automatically a more useful one.
What is the best deck design software?
It depends on whether you need visuals, structural calculations, client presentations or a budget. For homeowners and small contractors, look for 3D views, prices tied to objects, editable supplier rates and exportable plans. Check separately whether the tool covers the structural details your permit office asks for.
How much does a basic deck cost in materials?
This Old House estimates $800 to $1,000 in materials alone for a standard 10x16-foot pressure-treated deck. Complex shapes, height and premium finishes raise that figure significantly, and local prices vary, so enter your own supplier quotes.
What are the code limits that affect layout?
Under the 2018 and 2021 IRC, guards are required at 30 inches or more above grade and must be at least 36 inches high. Stairs need to be at least 36 inches wide. Your city may amend these rules, so confirm locally.
Sources
- Fine Homebuilding: Decks project guides
- Mississippi State University Extension: Developing a Home Landscape Plan
- Grafton, MA: 2021 IRC Residential Deck Guide
- City of Saint Peter, MN: Applying for a deck permit
- Deck Planning Guide: Layout, Size, Height & Permits
- WOOD Magazine: Draw a plan for your deck
- This Old House: How to build a deck
- Washington, D.C. Department of Buildings: Deck Guide